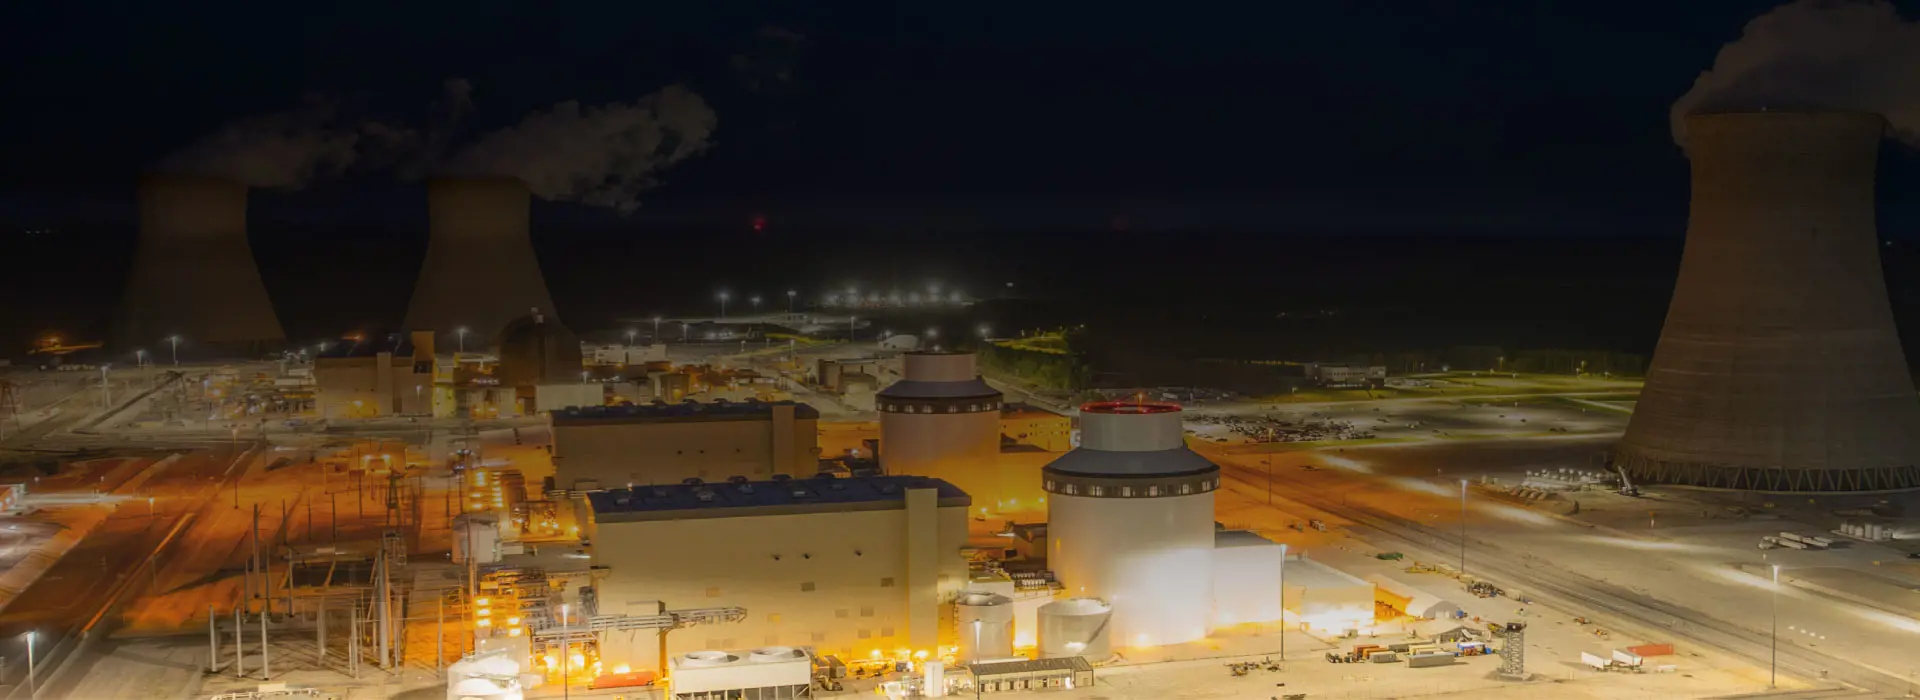
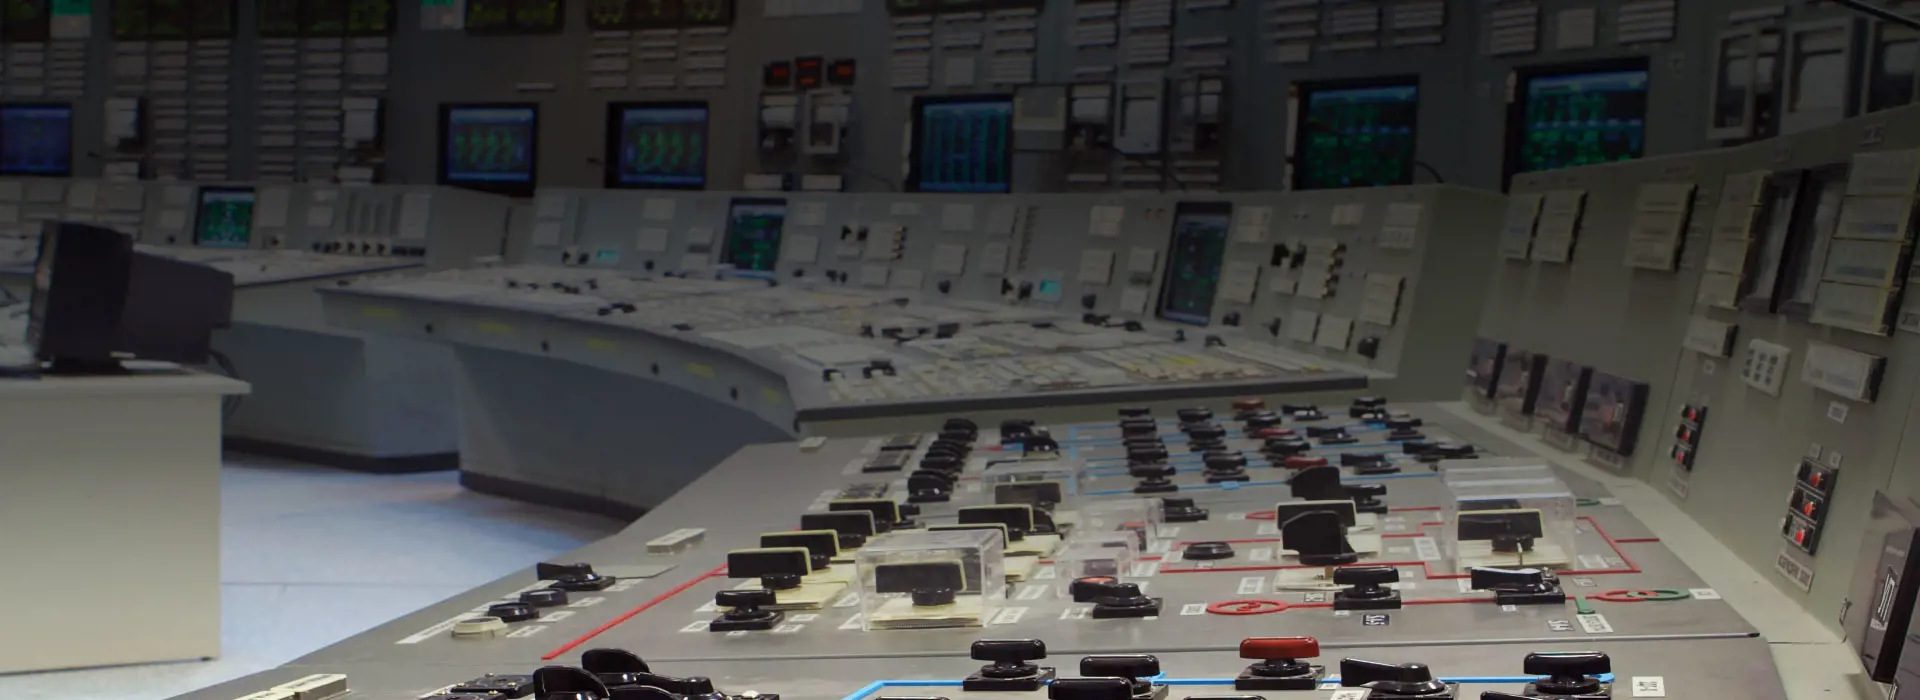
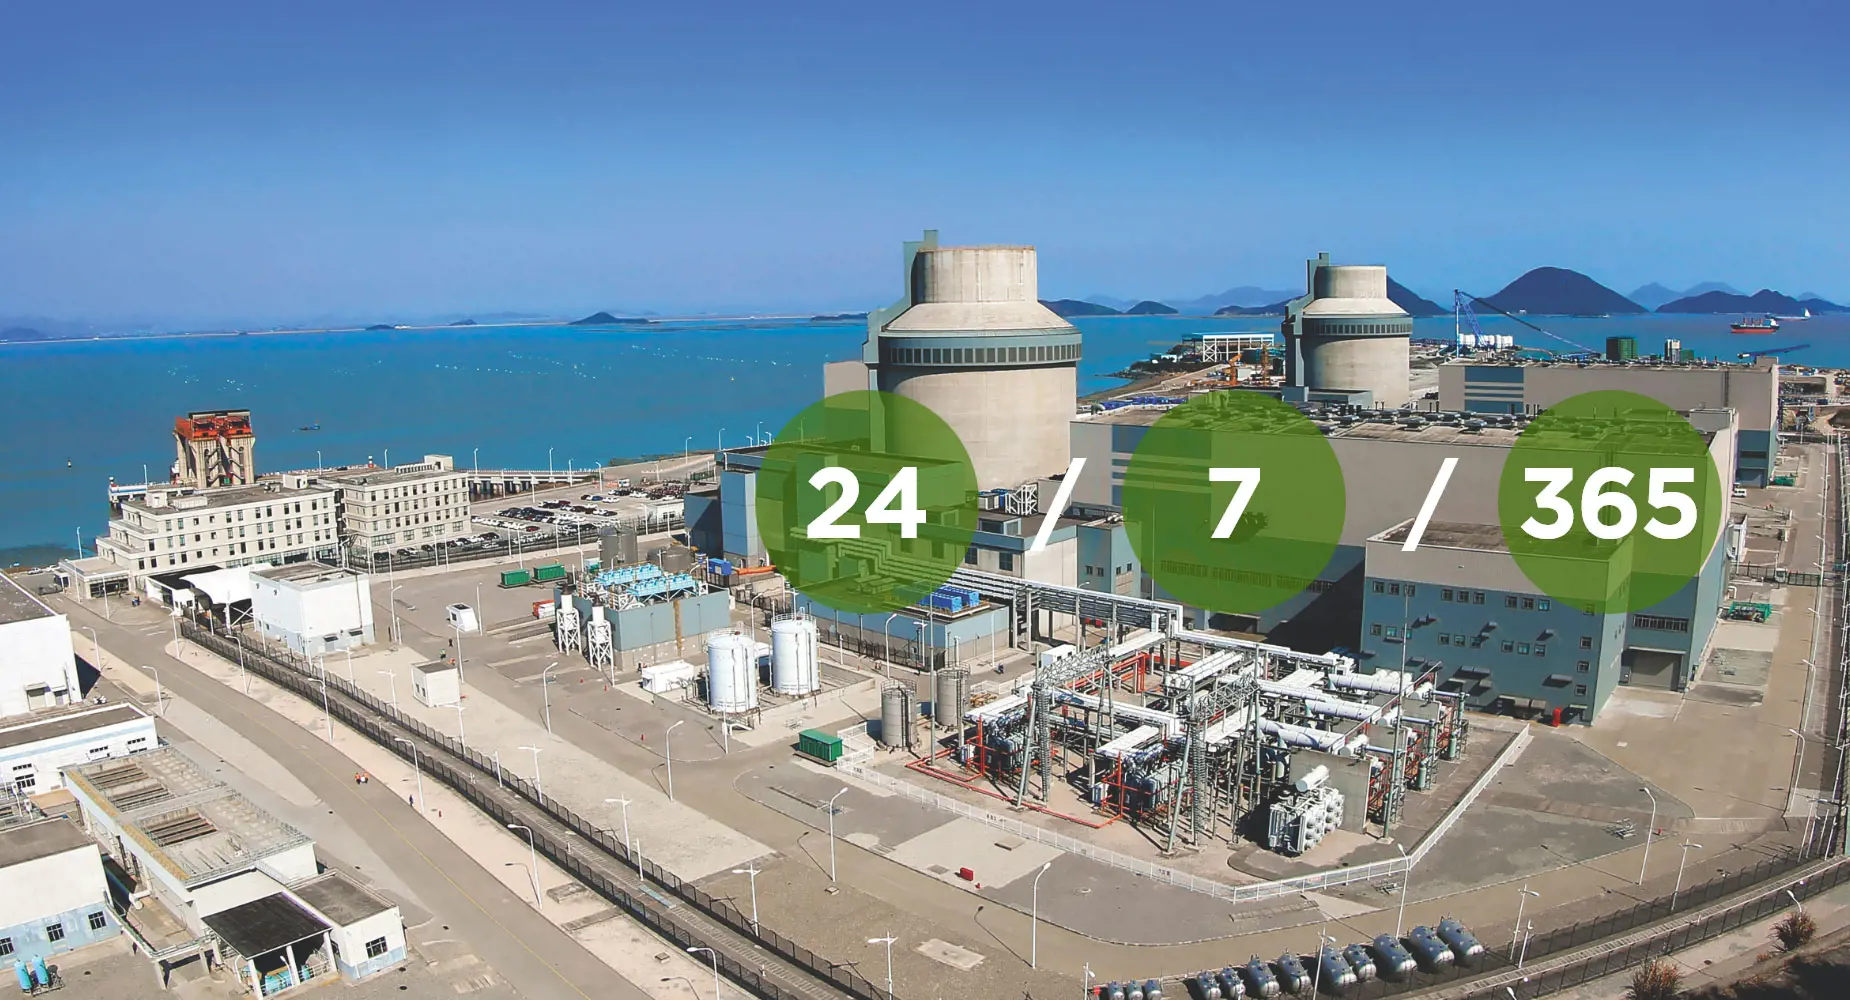
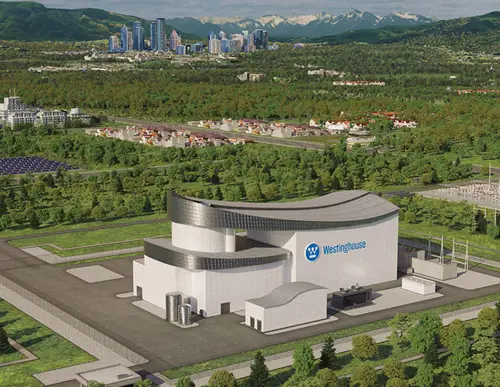
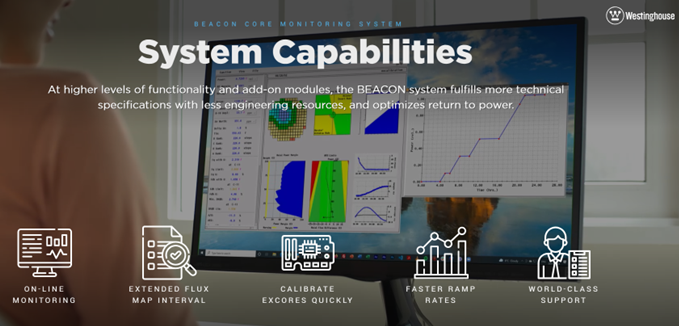
The Kozloduy Nuclear Power Plant (NPP) in Bulgaria, which powers a third of the country’s energy grid, recently became the latest user of Westinghouse’s BEACON™ Core Monitoring System, a world class technology product that has been utilized for over 30 years to support safe and efficient operation of nuclear power plants.
Monday, July 29, 2024
Supporting Energy Security in Eastern Europe: How Our Reactor Core Monitoring System Enhances Plant Operations for VVER Fuel Customers
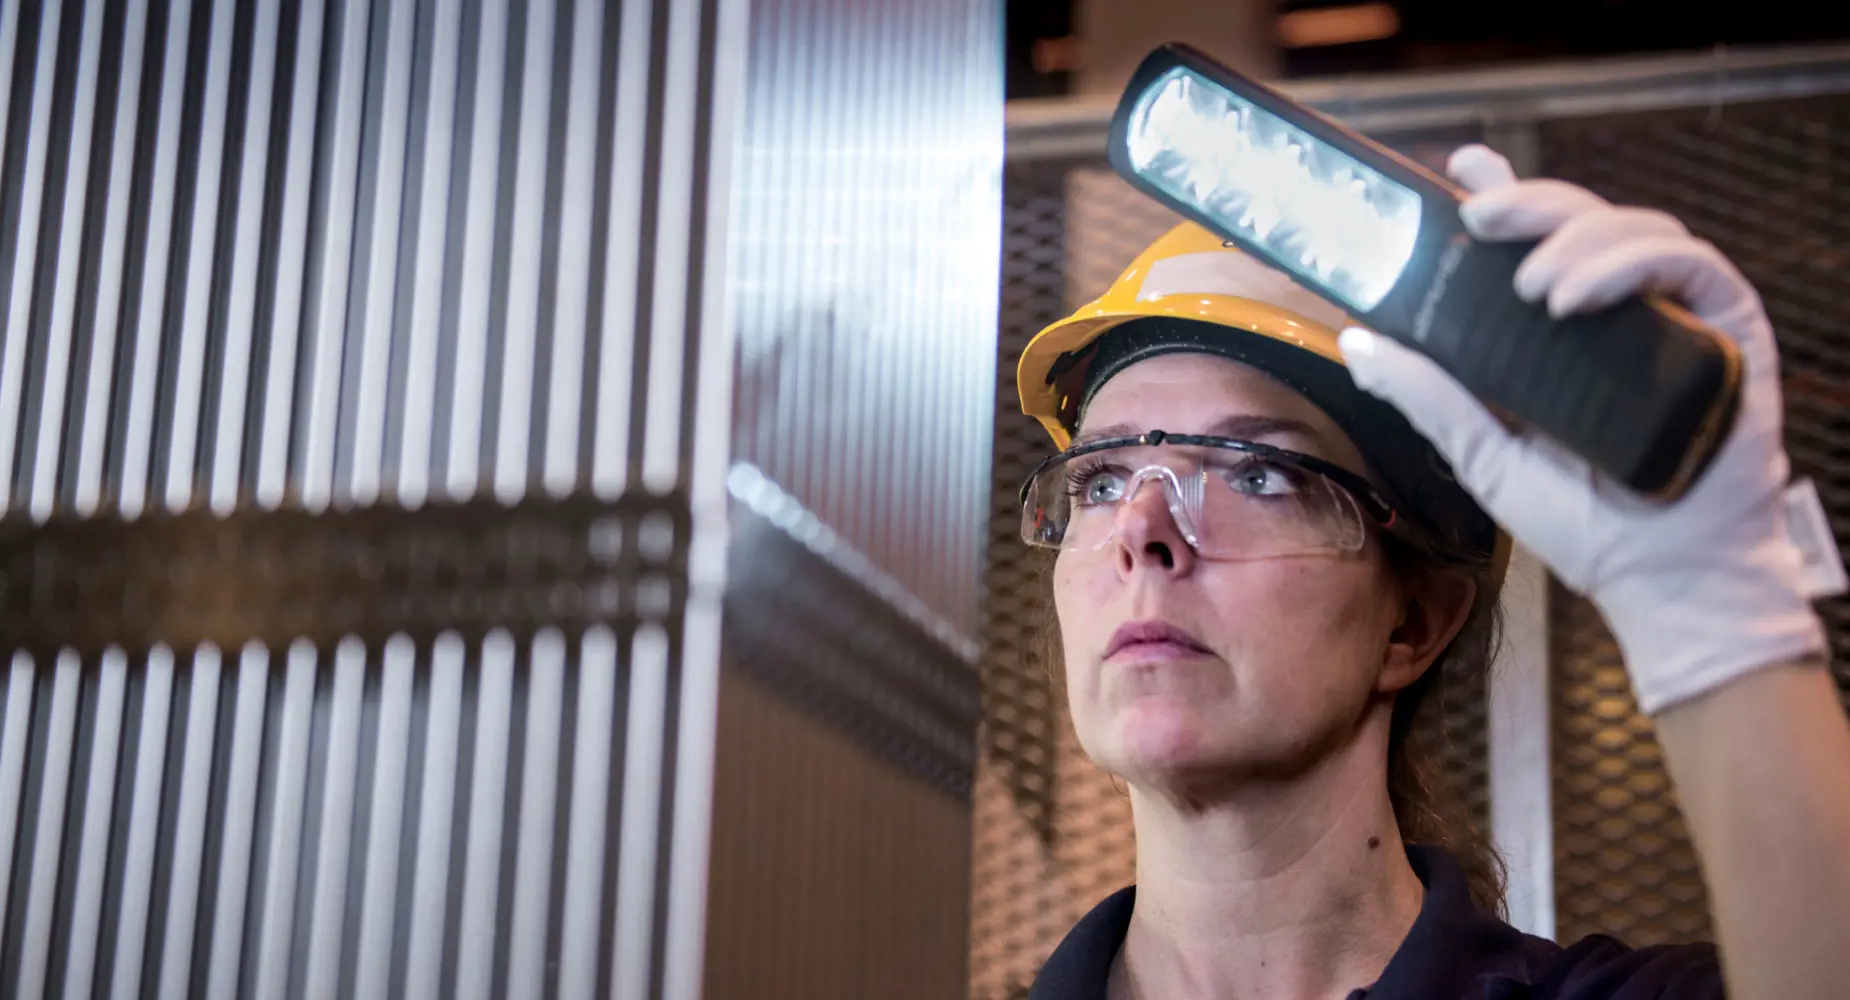
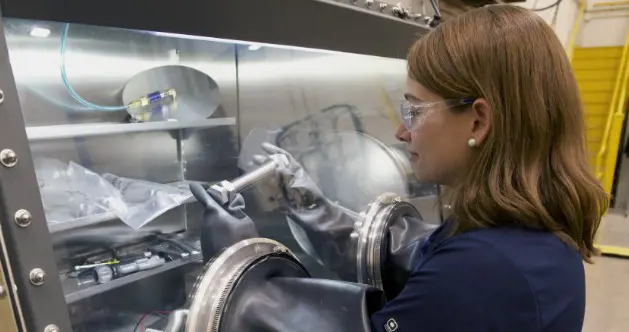
This summer, more than 250 young professionals are interning at Westinghouse, exemplifying the best of the next generation of nuclear energy professionals as the industry ramps up for myriad new-build projects in the years ahead.
With fresh ideas, diverse perspectives and excitement to begin their careers, Westinghouse interns are working at our facilities across the world to help bolster the nuclear industry.
Several of our interns shared what they are learning this summer and how they can contribute to a clean, sustainable energy future.
Thursday, July 25, 2024
Meet the Next Generation of Nuclear Energy Professionals on National Intern Day 2024